
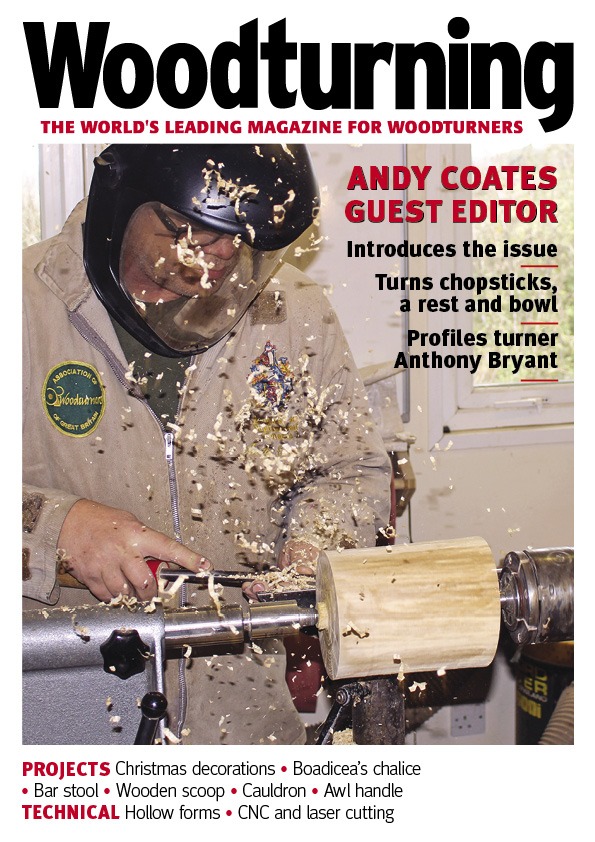
If you are interested in exhibiting at woodturning craft fairs, here are some tips for you. If you are a beginner, you should start by making small items and then expand to larger items as your skills increase. Wooden keyrings, storage containers, and chopping boards can be made. Also, you can make wooden letters. These pieces will make a great addition to any gallery or craft fair. These are the top woodturning craft fairs.
Making wooden letters
Making your own wooden letters can be so romantic! They create beautiful sentences and spell words that are both meaningful. And you can use them for any occasion! Here are some options. You can use personalized greeting cards for your birthday celebrations or nursery decor. They can be used as wall art. Turn a wooden letter from a newborn parent into a nursery wall hang.
The field of artistic woodturning is an international phenomenon, with a tradition in almost every country. Its roots can be traced back at North American artists. Early on, everyone in the United States worked with wood. However, the United States lost traditional apprenticeships. Industrial arts training made up the majority of this gap. It became part of high school education and many people were affected by it.
Making wooden keyrings
There are many ways you can add flair to your wooden keyrings. Whether you want to make a funky or vintage-western-style keychain, you can easily find inspiration and make the item yourself. These keychains also make excellent gifts for friends and family. Decorative keyrings allow you to show your personality and add flair into your day. These items can be made easily and are very affordable.
These items might be sold at the craft fair that you are attending. It's possible to sell wooden keyrings online, at craft fairs, or in a commercial market. You can also sell your wooden keys at Etsy if you are attending a craft show. To make sure you have enough product for the show, you need to know how much stock to order.
Making wooden storage boxes
Making a wooden storage container is one of the most cost-effective ways to make a sale at your local woodturning craft show. These boxes can be used for storage, as well as decorative purposes. Wooden boxes can be used for many purposes including jewelry storage, decorative shelving and many other uses. Here are some tips for making wooden storage boxes:
Making wooden chopping blocks
Consider making wooden chopping board if your goal is to sell the finished product at a woodturning fair. The process is straightforward and cheap, and the finished boards could double as corporate gifts. You can customize them with engraving, customer logos, and customer names. These boards can be listed on Etsy and even sold at the craft show.
After turning the first board, glue one side. Next, place the middle piece of wood on the right side of your first board. After this, make sure the edges are straightened. Next, use a hand-sander to sand the flat sides. Finish the edges using a router fitted with a round-over bit or chamfer bit.
Shop at Woodturning Craft Fairs
The regulations that govern woodturning crafts are important to know if your turntables will be sold at a fair. These events are only available to those who have registered with the Pacific Northwest Woodturning Guild. This guild certifies their members' work in order to ensure that they maintain a high level of craftsmanship. To draw attention to their work, certified members can use PNWG's certification symbol in marketing materials. It is also possible to search for members in the Pacific Northwest on its website.
Pricing your products can be difficult at first. To get an idea of the prices, you should visit other booths. However, do not offer discounts. A turned bowl, for example, will be priced according to its size, as it's not a small object. Prices must take into account both the time taken to make each item as well as the uniqueness or design. Your products' descriptions can be printed to help customers understand their prices and what they can get from you.
FAQ
Where can you find free woodworking blueprints?
To find free woodworking plans, you don't have to buy any magazines or books. Just search Google. Enter "free woodworking", and you will see hundreds upon hundreds of websites offering free plans.
What would be your first step in woodworking?
Start off with softwood like pine and poplar. When you feel confident with these two, move on towards hardwood.
Where do I get my woodworking supplies?
There are many places where you will find everything that you need. You could go to your local hardware shop or visit websites such as Amazon.com.
You can also check garage sales and flea markets for old furniture and other materials you can reuse.
Statistics
- Most woodworkers agree that lumber moisture needs to be under 10% for building furniture. (woodandshop.com)
- The U.S. Bureau of Labor Statistics (BLS) estimates that the number of jobs for woodworkers will decline by 4% between 2019 and 2029. (indeed.com)
- Overall employment of woodworkers is projected to grow 8 percent from 2020 to 2030, about as fast as the average for all occupations. (bls.gov)
- If your lumber isn't as dry as you would like when you purchase it (over 22% in Glen Huey's opinion…probably over 10-15% in my opinion), then it's a good idea to let it acclimate to your workshop for a couple of weeks. (woodandshop.com)
External Links
How To
Here are some tips on how to drive nails in wood
The first step in driving a nail into wood is to choose the correct size and type of hammer. There are many types of hammers that you will find: claw hammers and sledgehammers; mallets; ball peen hammers; and hatchets. Each type has its strengths and weaknesses. A clawhammer works best when hitting something hard like nails. However, it can sometimes be difficult to see exactly where the strike is going. A sledgehammer is great for hitting large areas at once, but it's too heavy to use effectively for smaller tasks.
After you've chosen the right tool, hold your hand flat to the handle so it rests comfortably in one of your palms. Hold the handle in your hand, but don’t force it too hard that you break. You should hold the hammer straight-up, with your wrist still relaxed. Next, swing the hammer toward the ground and aim for the nail's center. You should feel the impact of the hammer striking the nail. You can practice swinging the hammer with a block or wood until you feel the rhythm.
When you're ready to start driving the nail, hold the hammer in front of you close to your body. To ensure that the nail is perpendicular on the surface of the wooden floor, position it. Keep your eyes focused directly on the tip of the nail. Move the hammer forward and then continue to move the hammerhead. Repeat this action several times, gradually increasing the speed of the swing. After mastering the technique, you can add power to your swings. You can hold the hammer over your shoulder and forcefully bring it down. This will allow you to exert more energy.
Once you've nailed the first hole, remove the hammer from the nail. To remove the remainder of the nails, you can use a screwdriver/pry bar. Keep the nail heads parallel to the board's surfaces in order to avoid splitting wood.