Before beginning to tackle more complex wood turning projects, there are a few essential skills that beginners need to master. Beginners should start by turning a simple project, such as a handle for a hammer. To get started, beginners can do several smaller projects. Once they are proficient in the basics of woodworking, more advanced woodworkers will be able move onto more challenging projects. Here are some basic tools and techniques for woodturning.
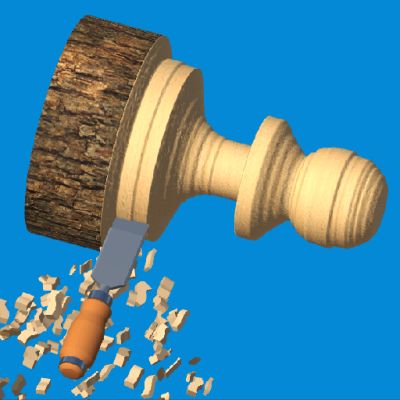
Turning spindles
A square blank is the first step in creating a spindle. The blank should be mounted between the tailstock & headstock with a roughing knife. Use a caliper for measuring the blank until it has the required diameter. Next, adjust the spindle to reach the desired diameter with a parting device. You can measure each section with a caliper, and then place the tool rest in each groove until you have reached the desired diameter.
While woodturning is a fun and rewarding hobby, it is important to remember safety as you turn. Several techniques are effective for both spindle production and safe turning, and the knowledge you gain from learning them will translate to a variety of projects. This article will not cover all aspects of woodturning safety but it will be a great starting point for your project. For more information about safety, consult a professional.
Softwoods are great for work
Hardwood and softwood are the two main types of wood. Hardwoods include maple, oak, hickory and are suitable for turning. Softwoods on the other side are more suitable for carving. European yew can be used to make bows and other musical instruments. Softwoods are better for crafting furniture. Engineered woods such as yellow pine are not recommended for turning.
The problem with softwoods, however, is that they can retain their pitch pockets. This can pose problems for your finished work. Even after drying, wood can still leak pitch. Protect your clothing and other surfaces from this wood pitch. Pre-stain conditioner is recommended before you apply any stain to softwood. Pre-stain conditioner is a thick coat that soaks into the wood's fibers. It acts as a barrier between the wood's porous regions and the wood itself.
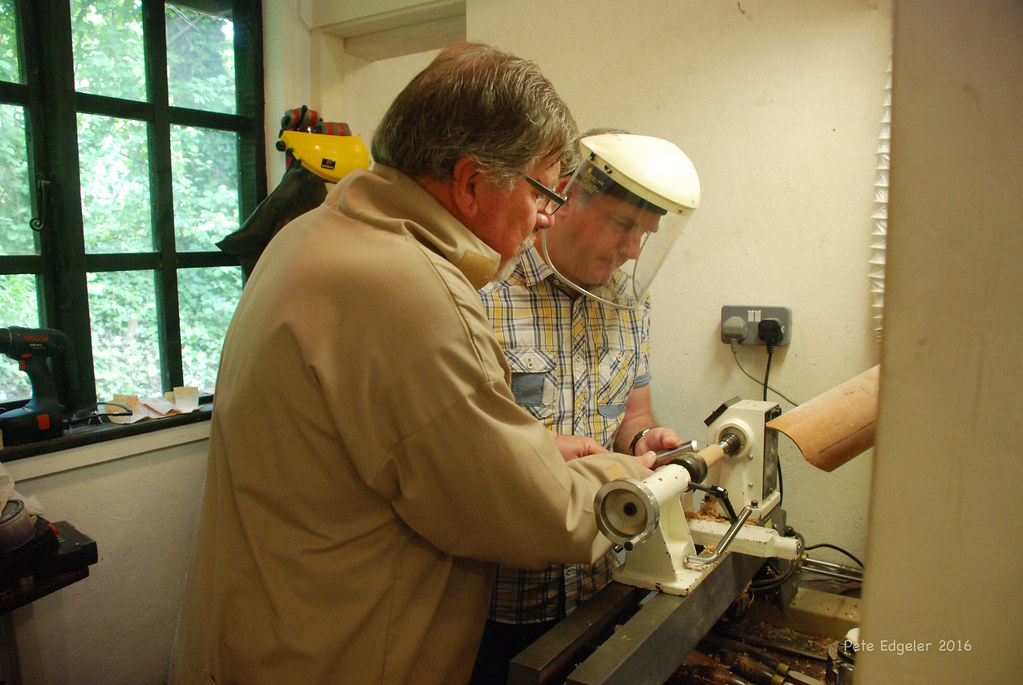
Limit speed at the lathe
Wood turners generally agree that the maximum speed of a lathe for a given diameter should range between 6,000 to 9,000 rpm. There are many variables to be aware of, including the particulars of the workpiece. For pieces measuring 3 in. in diameter, the recommended speed is 2,000 rpm. Workpieces measuring 10 inches or more should go at 600 rpm. The work piece's ability to withstand vibration is a limiting factor in lathe speed. A lower RPM is better.
Choosing the right lathe speed should allow you to turn your blanks without vibration. A low-speed setting may be more suitable if the workpiece is small and needs to be shaped carefully. The work will be smoother if you use a higher speed setting. Try different speeds to find the right speed for your woodturning projects. Smoother finishes are usually achieved with higher speeds.
Tools for use
Here are some tools that you'll need to woodturn. A skew can be described as a tool with an edge that cuts wood. This tool cuts out long ribbons of wood from a piece, and is better for cutting end grain woods than most other lathe tools. Moreover, a skew chisel is better for creating a smooth and flat surface for turning bowls and spindles.
It is important to invest in quality tools for woodturning projects. Cheap tools are not recommended as they won't hold an edge well. You should also make sure that you purchase a sharpening system, especially for high-speed steel. A grinder that is at least 8 inches in diameter will make sharpening your steel easier.
FAQ
Do I have the potential to make a decent living doing this?
Yes! In fact, many woodworkers already do. According to the U.S. Bureau of Labor Statistics in May 2012, the median annual income for woodworkers was $34,000 This is more than the national average of 31,000 per annum.
What is the average time it takes to finish furniture?
It all depends on what type of wood you use, how complex your design is, and how much finishing you use. For example, hardwoods require more maintenance than softwoods. Hardwoods are also more expensive than softwoods. However, they are stronger and more resistant to moisture. Finishing furniture can take anywhere from one week up to three months.
Which material would you recommend for woodworking lessons?
Start with softwood like pine, poplar and ash. These two are the easiest to master, then you can transition to hardwood.
Where can I begin with woodworking
Learning how to build furniture is the best method. You'll need tools, and you'll have to make mistakes along the way, but if you keep at it, you'll eventually figure out what you're doing.
Start by choosing a project you'd like to complete. You can make a simple box or a large entertainment center. Once you have chosen a project, locate a local woodworker who is skilled in this kind of work. Ask him or her for advice on what tools you'll need and where to find them. You might even ask whether there's someone else you can talk to who does this kind of work.
You can learn how to woodwork.
Learning by doing is the best way of learning anything. Woodworking is an art form that requires patience, practice, skill, and experience. To master any craft, it takes time.
The best way to learn how to do something is actually to do it. So start small and build on what you have learned from there.
What kind of tools are used to carpenters?
The most common tool used by carpenters is a hammer. A hammer helps to carpenter pound nails into the wood. It also helps them hold pieces together while they are working on a project. Other tools include clamps, pliers, screwdrivers, measuring tape, pencils, saws, drills, and wrenches.
Do I need to be a genius to succeed in woodworking?
No. Woodworking does not require any special skills. You can create beautiful pieces of art by learning how to use simple power tools.
Statistics
- If your lumber isn't as dry as you would like when you purchase it (over 22% in Glen Huey's opinion…probably over 10-15% in my opinion), then it's a good idea to let it acclimate to your workshop for a couple of weeks. (woodandshop.com)
- The best-paid 10 percent make $76,000, while the lowest-paid 10 percent make $34,000. (zippia.com)
- The U.S. Bureau of Labor Statistics (BLS) estimates that the number of jobs for woodworkers will decline by 4% between 2019 and 2029. (indeed.com)
- Average lumber prices rose about 600 percent between April 2020 and May 2021. (familyhandyman.com)
External Links
How To
How to stain wood
The process of staining wood involves the application of chemicals to the wood's surface, which causes it to change its color. This chemical reaction causes the wood to change from white to brownish red. The most common type of wood used for staining is oak, although many other types of wood can be stained.
There are many ways to stain wood surfaces. Some methods involve mixing the stain with a solvent (such as turpentine) and then brushing or spraying the mixture onto the wood. You can also apply a solution containing water and dye directly to the wooden surface. Stains can also be mixed into paints and varnishes, becoming part of the finish coating.
Preparing the surface for staining wood is the first step. You must clean the wood well to remove any grease or dirt that might interfere with the application of the stain. Sanding can smoothen out scratches and uneven spots. Next, you need to decide which stain you want. There are two basic kinds of stains: penetrating stains and non-penetrating stains. Penetrating colors penetrate deeper into wood than those that are non-penetrating. This makes them more suitable for darker colors, such as mahogany. Penetrating stains are best paired with lighter colors, such as maple.
You will need to decide on the type of stain you want to use, and then prepare your tools. You can use a paintbrush to apply stains. This allows you spread the liquid evenly over the surface. To remove any stains left behind after painting, you will need some rags. If you plan to mix the stain yourself, make sure you have enough containers available to hold the different components of the mixture.
After you have prepared the materials, you can clean the area where you want to stain the wood. Use soap and warm water to remove dust and grime. Wipe down all furniture pieces with a dampened cloth and clean water. Make sure you eliminate any loose debris, especially if you plan to stain darker wood.
Next, apply the stain. The stain can be applied by spraying or brushing the stain onto one end of the furniture. Work slowly and carefully, moving back and forth along the grain of the wood until you reach the opposite end. Be careful not to let the stain drip off the wood's edge. Before moving on to the next steps, allow the stain drying completely.
Apply a clear polyurethane sealant to protect the painted surface. Apply three coats of polyurethane sealer. Allow the third coat, which should dry overnight, to dry before sanding.