
It is important to be familiar with the types of woodturners' lathes available before purchasing one. Learn about Segmented turning and spindle turning. Learn more about basic tools. These will help make your first move. You can create beautiful wooden products if you have the right tools. But before you purchase a lathe, you need to make sure you know how to use it properly. This article will help you.
Modern woodturners lathes
A lathe, one of the most crucial tools in woodturning, is essential. A woodturning lathe allows the user to rotate a piece of wood on a horizontal axis. The lathe allows the user to shape, cut, chisel and sand wood pieces by turning it. There are many shapes and forms that can be made, and there is a woodturning machine to suit your needs.
A lathe is often seen as an essential tool. However, this is only one part of the puzzle. Without good tools, the lathe is pointless. To sharpen your tools effectively, you need a grinder or jig. Woodturning machines can be easily contaminated by dust, so many people give up too early. Some people can be allergic to wood dust so it is important to wear a mask while working on a wooden turning lathe.
Segmented turning
Segmented pieces can be made from a combination of ring and stave constructions or solid, un-segmented timber. Wood expands when it moves in a perpendicular direction to its grain. The amount of wood expansion is determined by its moisture content. The turner must take into consideration the non-parallel grain directions when turning a piece. If the grain directions of the wood are different from those of the other pieces, it can make it difficult to achieve the desired look.

To make beautiful vessels, a good woodturning lathe will be a must-have piece of equipment. Protective gear should be worn when working with wood. Safety guidelines can also be found in videos. Many woodturning videos and projects include safety guidelines for woodturning. Safety is of the highest importance when working on wood. Make sure to take the time you can to study them.
Spindle turning
A woodturners turner's lathe offers many features that make it an excellent tool for woodturning. The three options for turning a spindle are: steady rest, hand pressure, or skew. As the spindle is longer, its proclivity to bend wood will overwhelm the turner. The result will be a characteristic sound called harmonic chatter. The sound will imprint a pattern consisting of flat spots, which is usually a spiral pattern.
There are many ways to mount a spindle. The tool can be attached to a faceplate or a mechanical chuck. The tool should hold the wood between its tailstock and the drive centre. Wood for a bowl, or any other hollow vessel, can be mounted in any manner provided it is secured between the tailstock and the drive center. This process can take up to four hours and will yield a finished product with a diameter of a few inches.
Basic tools
A lathe can be a must-have for anyone interested in woodturning. The hobby of woodturning involves the carving and shaping of wood into beautiful pieces. These pieces are made by woodworkers who sand the wood using abrasives that they hold in their hands. These lathes can also be used with power tools like drills or right angle drills. After sanding, woodworkers finish their creations with coloring or texturing.
For rounding up square timber, a skew chisel can be used. The stock should be touched first by the blade's bevel. A skewchisel serves many purposes, including the ability to make vee cut (a technique turners use before beading). These tools can also shape spindles or faceplates. These tools should be presented to the stock higher than the centerline when used.
Safety equipment
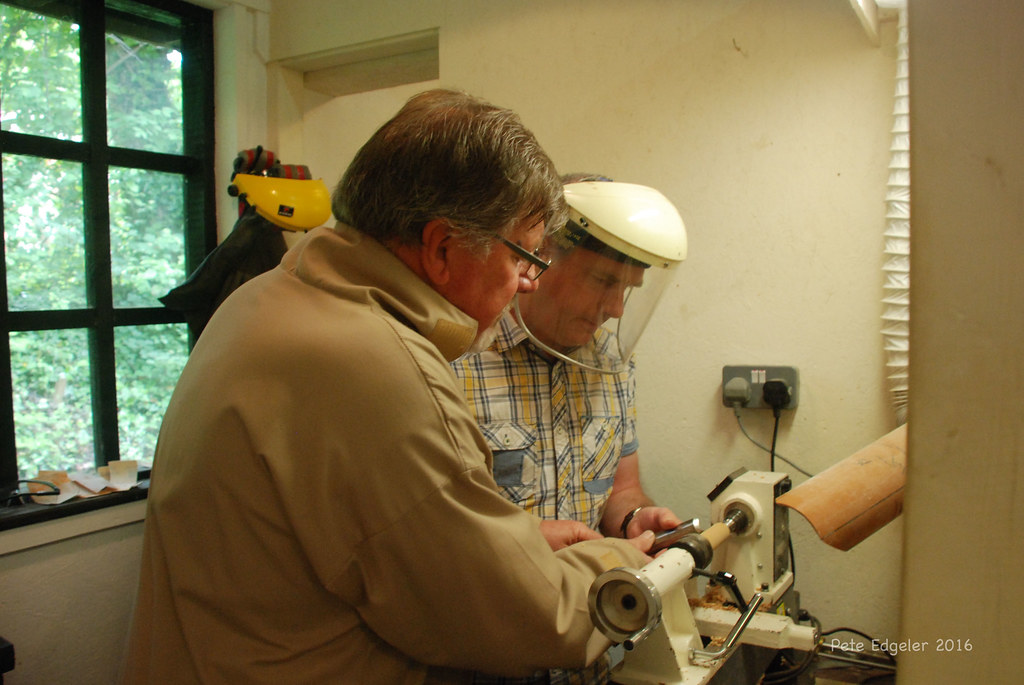
Woodturners lathes can be operated safely by following several safety precautions. To keep yourself safe while working with a lathe, you should wear proper footwear and clothing. Using a woodturners face shield is also helpful. It is important to use the correct technique for lifting large wood pieces. This will help minimize the chance of injury. Find a mentor in woodturning if you are just starting out. They can show you the correct technique and how to use safety equipment. In addition to watching a turner in action, read the user manual and read any warnings or instructions that are provided on the equipment.
Face shields protect you from flying objects by protecting your eyes and face. Even if you're wearing shop glasses it is still important to use a face protection. Also, a dust mask protects you from long-term dust exposure. When working, you should have quality turning boots. High-quality drill bits and sanding disks are essential. To use your turning project, you will also need rare earth (RE), or tungsten caride.
FAQ
Do I have the potential to make a decent living doing this?
Yes! Many woodworkers do. According to U.S. Bureau of Labor Statistics (BLS), woodworkers earned a median annual salary of $34,000 in May 2012. That's higher than the national average of $31,000 per year.
How can a woodworker start making money?
Many people are starting to learn how to build furniture because they want to start an online business. However, if you're just getting into furniture building, there are other options than selling on Etsy. You can sell at local craft fairs. Or you could offer workshops for others who want to learn how to build their own furniture. If you have the experience to be a carpenter, builder, or a designer, you may consider offering your services in remodeling homes or creating custom pieces.
How do I choose the right tools for me?
It helps to reflect on your needs and preferences before you shop for tools. Are you more comfortable with plastic or metal handles? What size are you most comfortable using for screws and nails? Would you rather use hand tools than power tools?
What material would you recommend to start learning woodworking?
Start with softwood like pine, poplar and ash. These two are the easiest to master, then you can transition to hardwood.
Statistics
- Overall employment of woodworkers is projected to grow 8 percent from 2020 to 2030, about as fast as the average for all occupations. (bls.gov)
- In 2014, there were just over 237,000 jobs for all woodworkers, with other wood product manufacturing employing 23 percent; wood kitchen cabinets and countertop manufacturing employing 21 percent. (theartcareerproject.com)
- If your lumber isn't as dry as you would like when you purchase it (over 22% in Glen Huey's opinion…probably over 10-15% in my opinion), then it's a good idea to let it acclimate to your workshop for a couple of weeks. (woodandshop.com)
- The U.S. Bureau of Labor Statistics (BLS) estimates that the number of jobs for woodworkers will decline by 4% between 2019 and 2029. (indeed.com)
External Links
How To
Tips on how to drive a nail in wood
First, choose the right size and type of tool to drive a nail through wood. The most common types of hammers are claw hammers, sledgehammers, mallets, ball peen hammers, and hatchets. Each type has its strengths and weaknesses. A claw hammer works well when you're trying to hit nails with a heavy hammer. However it is difficult to precisely control where the blow hits. Although a sledgehammer can be used to hit large areas quickly, it is too heavy to be useful for small tasks.
After selecting the right hammer, you will need to place your hand flat against one side of the head. The handle should rest comfortably in your hands. Hold the handle in your hand, but don’t force it too hard that you break. Keep your wrist relaxed and the hammer straight up. Swing the hammer back towards the ground, with your aim at the middle of the nail. You should feel the impact of the hammer striking the nail. If you're having trouble getting the hang of swinging a hammer, practice with a block of wood until you get the rhythm down.
Hold the hammer near your body until you're ready for the nail to be driven. Place the nail so that it is perpendicular with the wood's surface. Keep your attention on the tip. Move the hammer forward and then continue to move the hammerhead. Continue this motion several times, slowly increasing the speed of each swing. After mastering the technique, you can add power to your swings. Try holding the hammer above your shoulder and bring it down forcefully. You'll have more energy to work with.
Once you have successfully drilled the first hole in the nail, remove the hammer. You can then remove the rest of the nails using a prybar or a screwdriver. You should ensure that the nails are flush with the board's surface to avoid splitting the wood.