Perhaps you're wondering how to use a Scribe knife to cut a piece of scribed timber. These tips will show you how to get the most from your new tool. Additionally, you should have a drawing compass and bevel available. Also, a pencil as well as a scribe knife and a scribe pen. These tools will help you make a perfect cut when cutting a piece from scribed wood. After you have acquired the tools, measure the piece and cut it.
A drawing compass is used
A drawing compass consists of two arms with a sharp point. You hold the compass between your thumb and pointer finger, and the two arms are separated by one to two and a half centimeters. You can trace wood with a drawing tool compass. This article will explain how to use one. Here are some tips for using one:
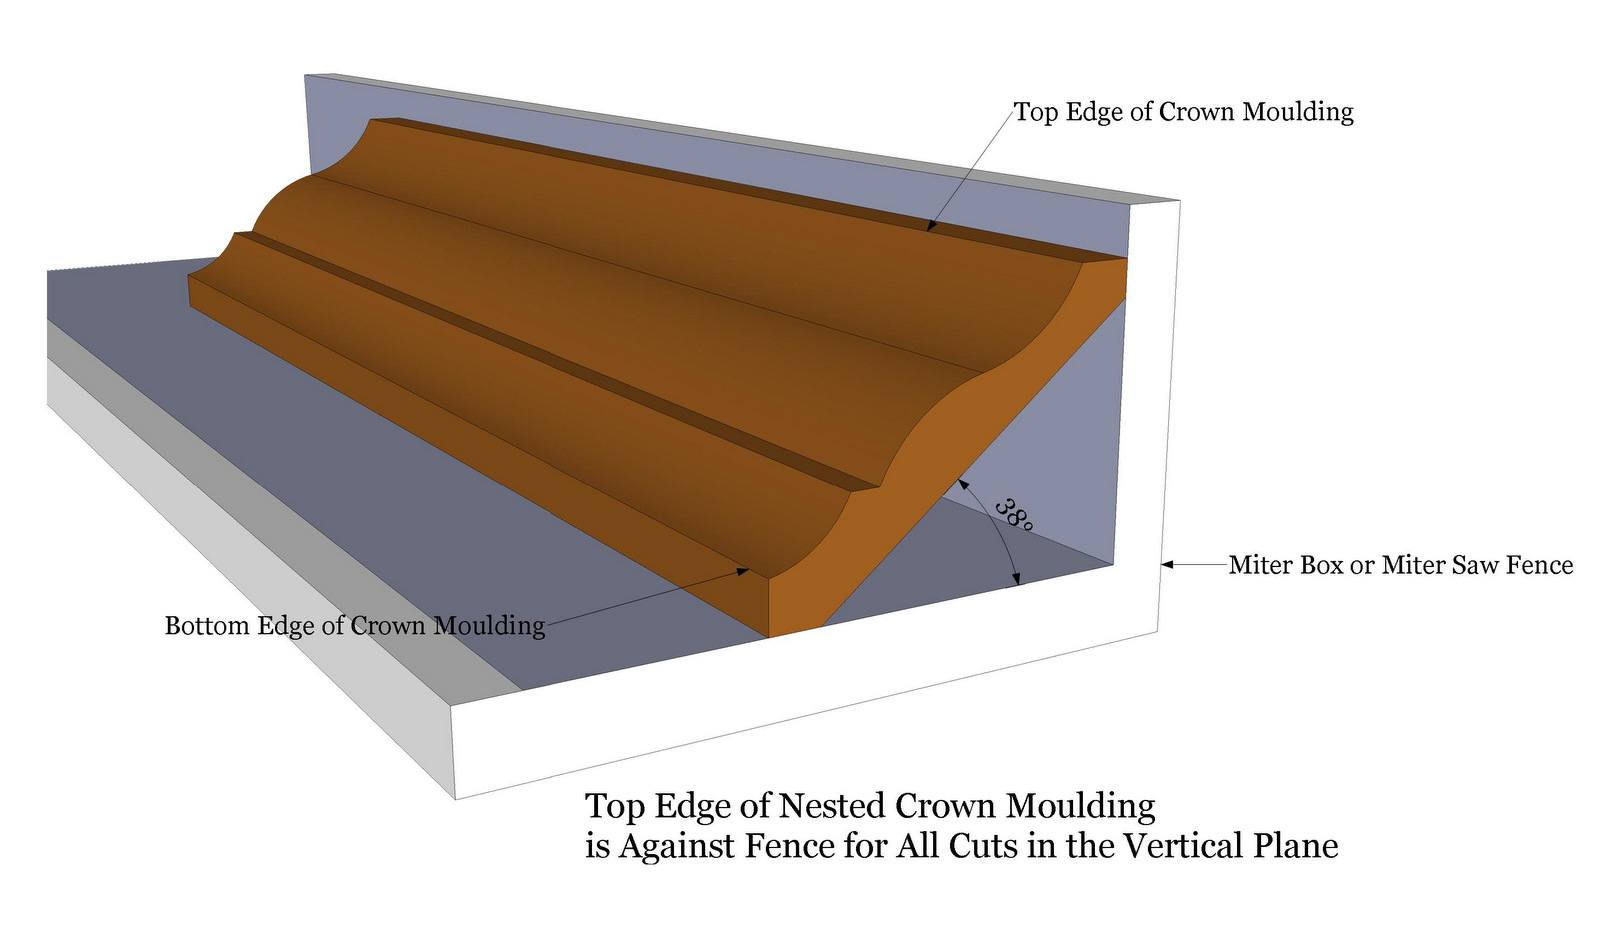
A bevel can be used
To scribe wood, bevels can be a helpful tool. These tiles can be tiled with some degree of accuracy. They are mostly used for trimming work. They are not suitable for joining work. To use a bevel, you first need to make sure that you have a blade that suits the depth of the cut you're making. Once you have the right bevel selected, you will be able to adjust its height. To change the height of the bevel, simply adjust the catch that moves the baseplate and exposes more or less blade.
Marking with a pencil
You've probably heard of the method of marking with a pencil on scribed wood. If you're using the method, you must first make sure that the surface of the worktop or counter is flat and symmetrical. To do this, you need to scribe wood to an even surface. The surface that you choose for scribe must be straight, level, plumb, level and parallel to your scribe line. Next, place the compass at fifty millimeters.
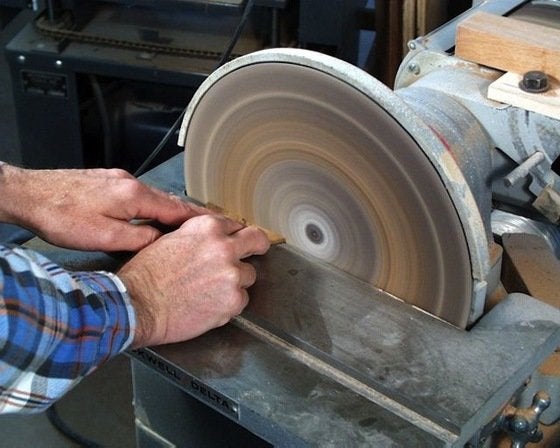
Use a scribe knife
A scriber knife leaves a neat, straight line on the wood. A scribe knife will leave a line that is one- or two-thou wider than a pencil. It is a popular tool for carpentry because of its precision. Sharp scribes won't cause damage during crosscuts. They can also work on a variety materials. This is how you can use it effectively.

Working with a crew
A template must be large enough to allow for the markings when scribing on a piece wood. A scrap piece of drywall, plywood or cardboard works well for this purpose. If the shape is complex, it is important to ensure that the markings are not covering all five corners. You must also ensure that the scribe line is straight and parallel. To ensure that your piece fits properly, it is crucial to do this correctly.
FAQ
You can learn how to woodwork.
Learning by doing is the best way of learning anything. Woodworking is an intricate art form that requires practice, skill, patience, and experience. Every craft takes practice and patience.
Learning how to do something is best done by doing it. Start small, and work your way up from there.
What material would your recommendation be to learn woodworking?
Start with softwoods, such as pine or poplar. When you feel confident with these two, move on towards hardwood.
How much should a woodworker charge per hour?
Hourly rates for professional woodworkers vary depending on many factors such as skill, experience, availability, geographical location, and other variables.
The hourly average rate for skilled woodworkers runs between $20-$50.
A woodworker with less experience may be able to charge $10 an hour.
What kinds of woods are good for making furniture?
Woods are classified by their hardness. Softwoods include cedar and pine as well as cedar and cedar. Because they are resistant, they can be used for outdoor furniture. Hardwoods include oak, maple, mahogany, and teak. They can't withstand the elements outside so they're best kept indoors.
Statistics
- If your lumber isn't as dry as you would like when you purchase it (over 22% in Glen Huey's opinion…probably over 10-15% in my opinion), then it's a good idea to let it acclimate to your workshop for a couple of weeks. (woodandshop.com)
- In 2014, there were just over 237,000 jobs for all woodworkers, with other wood product manufacturing employing 23 percent; wood kitchen cabinets and countertop manufacturing employing 21 percent. (theartcareerproject.com)
- Most woodworkers agree that lumber moisture needs to be under 10% for building furniture. (woodandshop.com)
- Woodworkers on the lower end of that spectrum, the bottom 10% to be exact, make roughly $24,000 a year, while the top 10% makes $108,000. (zippia.com)
External Links
How To
How to join wood with no nails
Many people love woodworking. Woodworking is a relaxing hobby that allows you to use your hands to create useful things from wood. You might want to join two pieces from the same wood, but you don't need to use nails. This article will explain how to do this so that your woodwork projects stay beautiful.
Before you can join the wood pieces together, you need to remove any rough edges. Do not leave any sharp corners as they could cause problems down in the future. Once you've done this, you're ready to start gluing your boards together.
If you are working on hardwood, you should only use glue on one side. For softwoods like cedar and pine, glue should be applied to both sides. Once the glue has dried, press the boards together until they are fully adhered. Before moving onto the next step, make sure the glue has dried completely.
Once you've glued your boards together you will need to drill holes in the joints to accommodate screws. Depending on what type screw you choose, the size of these holes will depend on how big they are. For example, if your screw is a 1/2-inch wooden screw, drill a hole that is at minimum 3/4 inches deep.
Once you have drilled the holes, the next step is to drive your screws through the joint into the board's backside. Do not hit the boards' front surfaces. It will ruin the finish. Be careful not to drive the screws too hard at the ends. This will prevent the wood from splitting.
Now that your project is finished, you'll want to protect it from the elements. You can either cover the entire furniture or just the top. It doesn't matter what method you use, you want something that will last many years. You can choose from oil-based varnishes or polyurethane, shellac and lacquer as examples.
These products can usually be found at any home improvement store. Just make sure that you buy the right kind for the job. Don't forget to keep in mind that some finishes are toxic. So, always wear protective gear when handling them.