These tips should be read before you use your scrollsaw. These tips will assist you in using the scroll saw safely and efficiently. It is important that the scrollsaw be securely secured in the workbench. It will vibrate and slide down the workbench if it is not secured. Lastly, make sure the blades are properly installed. Once all these features are installed, it's time to begin furniture making! Next, you are ready to start using your scroll saw.
Dust blower
The General International 21-Inch Tilting Head Scroll Saw has solid upper and lower parallel arms for stable operation, as well as a built-in dust blower. It also comes with a dust collector hookup, so you can easily collect the sawdust as you work. This saw makes detailed cuts without producing excessive noise, and features a dust blower that's easily adjustable for various air flow directions. If you already have a shop vacuum, this saw can be used as a shop vac.
Tilting Table
Here's how to use your scroll saw with a tilting desk. Scroll saws are a popular tool for many. However, prolonged hunching on them can make it uncomfortable. This is especially true if you have stiff shoulders or neck. There are ways to make scroll saws more comfortable.
Spiral blades
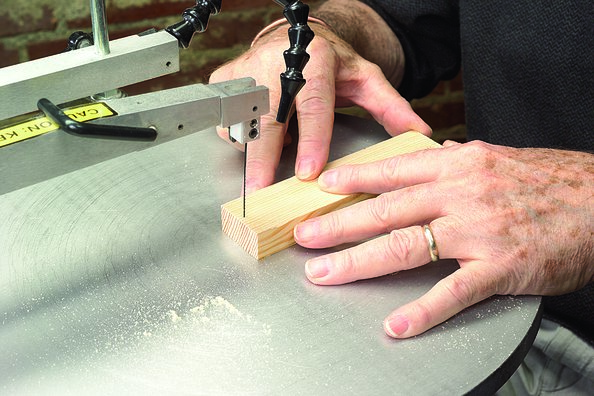
It is possible to make straight, long cuts using your scroll saw by using a straight blade. Although it can seem tedious to switch between spiral or straight blades at times, it is easier and produces better results. You can use spiral blades if you are looking for a simple tool that can cut through most materials. These blades have teeth that extend to the end of the blade.
Variable speed
Choosing the right scroll saw blade for your project is essential. Scroll saw blades can be made in many tooth configurations and sizes to match different types of materials. The number will indicate how thick the blade is. For thinner woods, smaller blades will be used. Below are the top scroll saw blades. To ensure that you get the best results, buy a blade that fits the material thickness that you plan on cutting.
Transferring patterns using colored carbon paper
You may want to transfer your patterns onto colored carbon papers before you start carving. Lay a piece of carbon paper over the desired pattern, then tape the other side. Clear packaging tape can also be used. It eliminates the need for adhesive removal and sanding. After you have taped your pattern onto paper, trace the design using a ballpoint pen (or dull pencil) on the carbon papers. Do not drag the pattern papers as you trace, as you could accidentally cut the wrong patterns.
A variety of knives should be kept on hand
Consider purchasing spare blades for beginners if you use a scroll saw. The scroll saw is prone to miscuts. You must adjust the tension of your blade before you start. It can also break if the blade isn't tightened correctly, so it's a good idea to budget for several spares. Extra blades can be purchased at your local hardware store, or online.
An eraser is required for use with a pencil.
It's a good idea for scroll saw users to draw a plan in pencil before attaching it to the workpiece. Before you begin your project, be sure to check your settings and tension the blade. Once you've marked the design in pencil, drill a 1/4-inch hole through the middle of the piece. Use the blade to thread through the hole. Then work your way outwards. Be careful as you guide the blade in order to avoid any accidents.
Selecting the right blade

It can be hard to find the right blade for your first scroll saw purchase. Different blades have different specifications. If you are just starting with a scrollsaw, it might be helpful to experiment with different types to help you decide which one you like best. Each blade type is different in design and function. They are designed to be used for specific jobs. Here are some tips for choosing the right scrollsaw blade.
FAQ
What kind tools do carpenters use to build?
The most common tool used by carpenters is a hammer. A hammer is useful for driving nails into wood. It is also used to help hold pieces together while working on a job. Other tools include clamps and pliers, screwdrivers as well as measuring tape, pencils and saws.
How do I determine what kind of wood my project is made from?
When purchasing wood, always check the label. The label should contain information about the wood species, its moisture content, and whether it has been treated with preservatives.
Where to buy Hardwood Lumber
Home Depot sells hardwood lumber. They sell all kinds of wood products, including flooring, cabinets, furniture, etc.
There is also a wide selection of engineered hardwoods, including Ipe (Araucaria Angustifolia), Brazilian Cherry(Pau d'Arco), Mahogany (Swietenia Mcrophylla).
These woods are available online by searching Google for "hardwood lumber".
How much money will I need to get started?
Because each project is unique there are no exact numbers. But if you want to get an idea of how much money you'll need, consider these factors:
-
Materials cost
-
Tools and equipment
-
The time spent on the project
-
Hourly rate
-
How much profit can you anticipate to make
-
You can hire help, regardless of whether you have a plan.
It's a good idea for beginners to start with small projects like frames and boxes. As you gain experience, more difficult projects will become possible.
Do you have the skills to learn woodworking?
You can learn everything best by doing. Woodworking is an art that takes patience, practice, skill and experience. Mastering any craft takes time.
The best way to learn how to do something is actually to do it. Start small and use what you learn.
What kind and type of wood should i use?
The most commonly used woods for woodworking are oak, maple, cherry. Each type of wood has its own unique characteristics that can affect the final product's appearance. Oak tends to be harder and darker than other woods. Birch is lightweight and soft while mahogany is heavier and denser. You also have the option of solid wood or veneers. Veneers can be described as thin sheets of wood that have been glued together in one layer.
How do I calculate woodworking prices
It is essential to calculate costs as accurately as possible when pricing any project. Always make sure you get the best price on materials. You should also consider other factors that could impact the cost of your project, such as experience, skill level, time, and money. Our guide to the average household DIY task price will give you an idea of how much it costs to complete different types of woodwork projects.
Statistics
- Most woodworkers agree that lumber moisture needs to be under 10% for building furniture. (woodandshop.com)
- Woodworkers on the lower end of that spectrum, the bottom 10% to be exact, make roughly $24,000 a year, while the top 10% makes $108,000. (zippia.com)
- The best-paid 10 percent make $76,000, while the lowest-paid 10 percent make $34,000. (zippia.com)
- If your lumber isn't as dry as you would like when you purchase it (over 22% in Glen Huey's opinion…probably over 10-15% in my opinion), then it's a good idea to let it acclimate to your workshop for a couple of weeks. (woodandshop.com)
External Links
How To
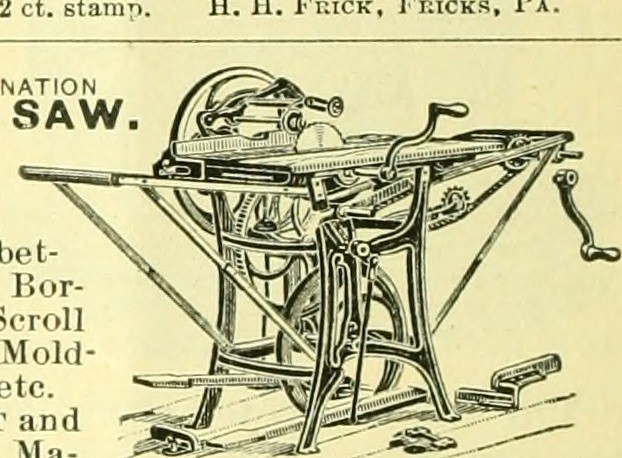
How to use a handsaw correctly
The wood is cut into pieces using a hand saw. There are many types of handsaws: jigsaws and table saws; band saws; sabersaws; crosscut saws; miter saws; and rip-saws. A hand saw is made from metal or plastic and cuts materials such as wood, plastics and metals.
The main advantage of using a hand saw is its ability to make precise cuts at any angle without adjusting the blade. They are also easy to sharpen, unlike power tools. There are also some drawbacks. These devices are bulky and heavy so you need to be careful when transporting. It is possible to injure or damage your own body if the instructions are not clear.
There are many ways that you can use a handsaw. When you are cutting, your hands should be kept away from the blades. If you don't, you might get hurt. While holding the saw, make sure you place your fingers around its handle. Keep your thumb close to the blade. This way, you won't accidentally touch the blade.
You should not place anything underneath the wood you are cutting with a handsaw. Doing this would cause the blade to slip off the wood's surface. Before cutting, always inspect the area. Make sure there are no nails, screws or other objects under the wood.
Safety goggles should be worn when using a handsaw. They protect your eyes from dust, which makes it easier to see what is happening. Safety glasses also protect your eyes from flying debris.
Before you start working with a saw, it is important to learn how to use it safely. Practice until you feel comfortable cutting. Once you've mastered the basics, you'll find that you can easily cut almost anything!