You might be unsure where to start if you are a beginner woodcarver. These are some tips for starting your first animal carving project.
Dog
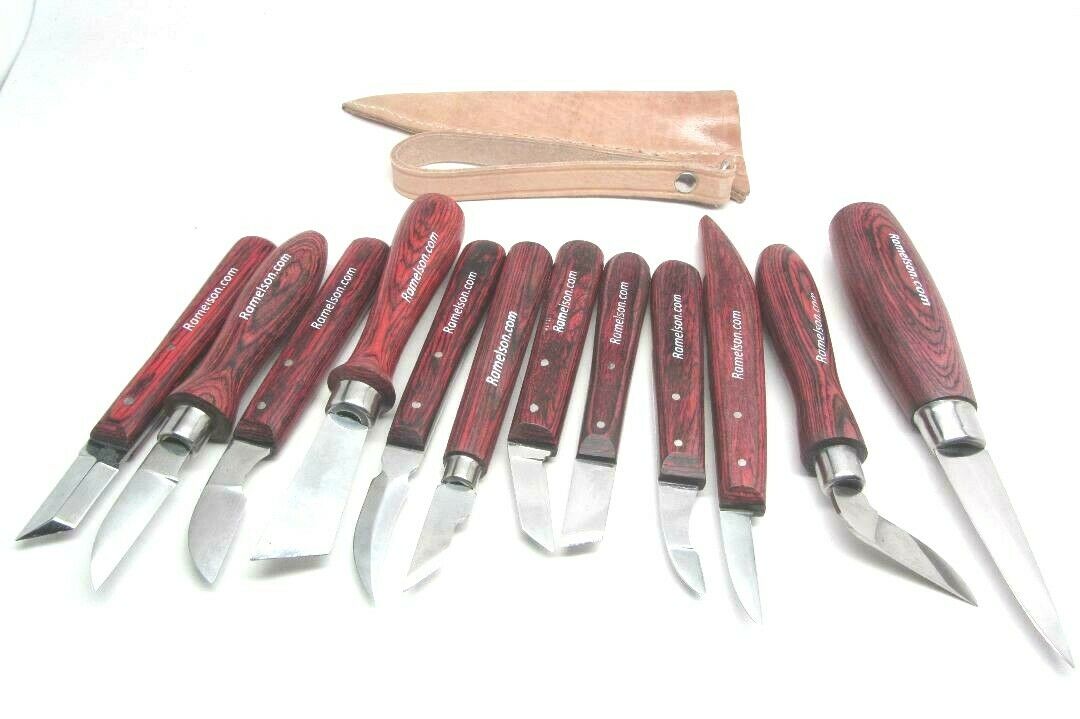
You can find many free patterns online for woodcarving dogs if you're an amateur. These patterns will guide your carving of your dog in a variety styles and dimensions. Here are some tools that will be needed to carve your dog. You will need a band saw or coping saw, chisels, a mallet, and some time to sharpen. You're ready to start carving!
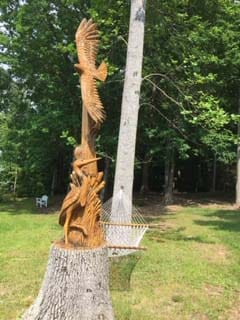
Eagle
Native Americans have long held the bald Eagle as a symbol for strength, courage, and knowledge. Its primary purpose was to be the creator's messenger. It measures approximately 20 inches in size and 5 inches wide. The eagle today is a popular choice in wood carvings. There are many different wood options available for eagle carvings. This article will highlight popular wood carving techniques.
Bear
Carving a bear is simple and straightforward. Each line is heavier than the previous. The front paws of a bear are angled opposite the leg lines for added visual interest. You might consider buying a book that will teach you how to make a bear. James Miller's book shows the entire process.
Elephant
An elephant wood carver is a beautiful way to give your home character. 1stDibs stocks 56 antique carved wood elephants as a well as two new pieces. These pieces date back to the 19th century and have gained popularity in recent years. You can choose from Art Deco (Mid-Century Modern), Folk Art, or a smaller piece for a subtle addition to your home decor.
Moose
You can carve a moose head or antlers by using moose antlers. Dowels can be used to attach antlers or paddles to moose. Then push them in or glue them. You can then paint the moose using a walnut gel stain, or you can use paint to color it.
Template for Moose
Carvers can use a moose carving template to help them create realistic-looking carvings. You can color moose carvings with paints or stained them with walnut gel stain. It is not difficult to carve this animal once you learn the basics. For the final touch, add details like fur and eyes with a brush or a typhoon bit on a die grinder. The Moose Template is ideal for beginners who are interested in carving an animal.
Bear template
To begin a bear wood carving, you'll need a template. You can then use a Dremel instrument to examine the wood features. This tool allows you to use stop cuts in order to separate the legs from their lower bodies. You can also make small V cut in the legs to indicate their split. Round the underbelly once you've completed the leg and ear pieces. Make sure to leave an open space at the back to continue to shape the bear.
Eagle template
Three detailed templates will be required in order to carve an elegant eagle. One of them is for the actual carving, the other will serve as your working paper template and will be cut off to transfer patterns. The third template will serve as a reference. Then you will need to use the templates as a reference. You should ensure that the lines are as close as possible to the pattern line. Make sure you align all marks.
Template for the mouse
There are many designs available for wood carving beginners. A template can make it easier and you can even find printable patterns to help you. A simple geometric pattern is a good starting point if you're just beginning. Then you can move onto more complicated patterns as you progress. Once you know the basics, the rest will come easy.
FAQ
How do I get started as a woodworker?
Woodworking is an art that takes patience and practice. It takes time to master all the tools and techniques involved in woodworking.
There are many options for woodworking equipment today. Some people prefer to use power tools while others prefer manual tools.
While you have the option to pick what you like, it is essential that you get the right tool for the job. You might start with a simple set of tools if you don't have much experience.
A router is a tool that cuts intricate shapes in wood. You can also learn how to use it. You can find these at most hardware stores.
How do I determine what kind of wood my project is made from?
When purchasing wood, always check the label. The label should include information about the wood species and its moisture content as well as whether or not it has been treated using preservatives.
How often do I need to buy new supplies
You will likely need to replace some tools over time. If you're using hand tools, you'll need to sharpen them regularly. And if you're using power tools, you'll need replacement parts periodically. Avoid buying too many products at once. Spread your purchases out over several months.
How does a beginner woodworker earn money?
Many people learn how to make furniture in order to set up an online business. There are other ways to make money if you're just starting out building furniture than selling on Etsy. You could sell at craft fairs or local events. A workshop could also be offered for people who are interested to learn how they can build their own furniture. If you have the experience to be a carpenter, builder, or a designer, you may consider offering your services in remodeling homes or creating custom pieces.
How do I know what tools are best suited for me?
It's important to consider your preferences and needs when buying tools. Do you prefer metal handles or plastic? What size screws and nails do you use most often? Are you more comfortable using power tools than hand tools?
What's the time taken to finish a piece furniture?
It depends on what size piece of furniture you have. You can finish smaller projects, such as boxes or picture frames, in one day. Larger projects like dining tables and desks require several days. It takes time for the wood to be stained and sealed properly.
Do you have any suggestions for starting a woodworking shop?
Starting a woodworking business is a lot of work. If you are passionate about your hobby, it will not be difficult to put in the work. You'll enjoy the challenge and rewards of owning your own business.
It is important to remember that unexpected problems may arise when you start a new venture. You may run out of money suddenly. Or maybe you'll find that customers aren't willing to pay as much as you'd hoped. Preparedness is key to survival in such situations.
It is a good idea to create a separate bank account just for your company. You will always know how much money you have coming in.
Statistics
- Average lumber prices rose about 600 percent between April 2020 and May 2021. (familyhandyman.com)
- The best-paid 10 percent make $76,000, while the lowest-paid 10 percent make $34,000. (zippia.com)
- If your lumber isn't as dry as you would like when you purchase it (over 22% in Glen Huey's opinion…probably over 10-15% in my opinion), then it's a good idea to let it acclimate to your workshop for a couple of weeks. (woodandshop.com)
- Most woodworkers agree that lumber moisture needs to be under 10% for building furniture. (woodandshop.com)
External Links
How To
How to drive a nails in wood
The first step in driving a nail into wood is to choose the correct size and type of hammer. The most commonly used types of Hammers are claw hammers. Each kind of hammer has its own advantages and disadvantages. A claw hammer is best for hitting nails or hard objects. However, it can be difficult to pinpoint exactly where the blow will land. A sledgehammer is useful for striking large areas at once but too heavy to be effective for smaller tasks.
Once you have chosen the right hammer for you, put your hand flat against its side so that it rests comfortably in the palm of your hand. Hold the handle in your hand, but don’t force it too hard that you break. You should hold the hammer straight-up, with your wrist still relaxed. Next, swing the hammer toward the ground and aim for the nail's center. You should feel the impact of your hammer hitting the nail. Practice swinging your hammer on a block of wooden until you feel comfortable.
Once you are ready to drive the nail, place the hammer close to your body. Position the nail, so it's perpendicular to the surface of the wood. Keep your eyes on the tip. Swing your hammer forward. Then follow through with the motions of the hammerhead. You can repeat this several times, increasing your swing speed. When you are confident with the technique, add power to your swings. You can hold the hammer over your shoulder and forcefully bring it down. This will help you put more energy behind each of your moves.
After you have nailed the hole, take the hammer off the nail. The rest of the nails can be pulled out using a screwdriver, pry bar, or a hammer. Keep the nail heads parallel to the board's surfaces in order to avoid splitting wood.