
Woodturning requires a precision lathe to be an enjoyable hobby. This type of work requires different skills. Certain tools are better suited to this work, while others require more skill. This is why it is important to understand the basics of the process before you start. This article will provide information about the different techniques and tools available. Learn about the prices of these tools. The right lathe will allow you to start turning quickly!
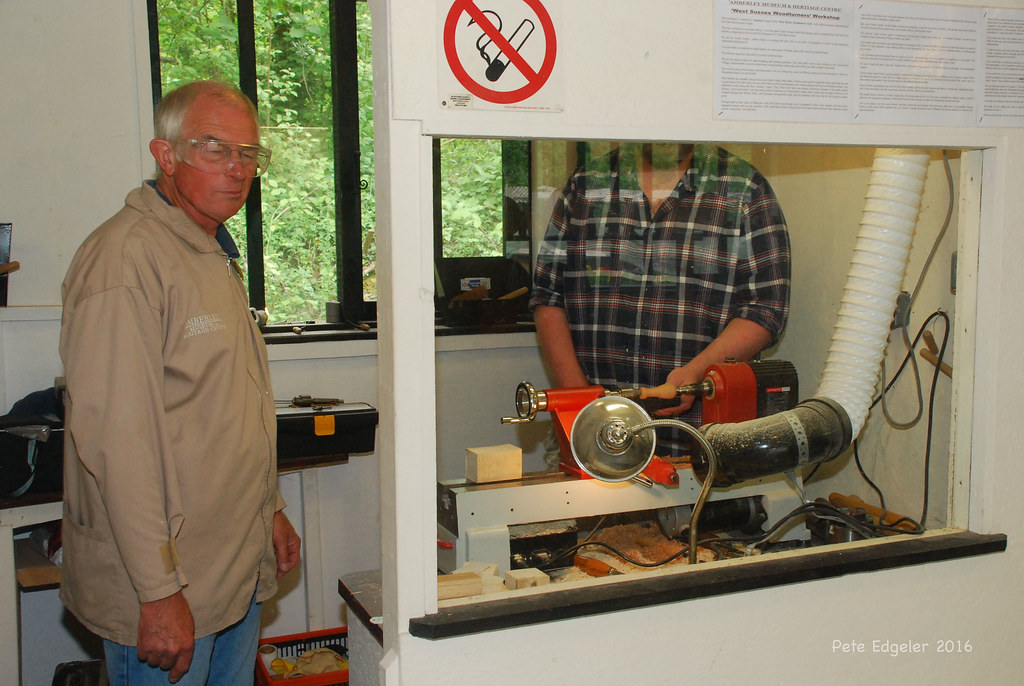
Lathe
You need to be careful when purchasing a woodturning luthe. The wrong machine could ruin your enjoyment of this craft. There are many lathes on the marketplace, so you should be able to distinguish between the different types before buying. These tips will help you select the right lathe.
Before you start any wood projects, dry it. After a few months, wood will become a stable shape but will start to warp as it gives up moisture. Woodturners aren't looking for long straight boards. They prefer pieces and sometimes score them. Usually, they are looking for the figured part of the tree. To make a great woodturning object you must dry the wood to a high degree.
Tools
Some of the tools you will need to perform your woodturning activities are: Leather steel-toe boots, a work bench, and a set of saw blades. Safety glasses should be worn by woodturners. Some tools are better suited for small items, while others may not be suitable for larger items. Some tools will require more advanced skills. Some woodturning tools are not recommended for large items, as they can cause injuries.

A set of tools is better for beginners than a bunch. High quality tools should last a lifetime. You should start with a roughing knife, diamond parting tools, skew and several sizes. You can also purchase high-quality steel tools to do larger jobs. You can expand your toolbox by buying several gouges.
Techniques
The book A Lesson Plan For Beginners teaches you the basics of woodturning. This book offers step-by–step instruction with photos and illustrations showing the techniques for each project. The book's structure was developed from classroom experience. The book's structure is based on classroom experience. It covers everything from choosing timber to setting up the project, as well as the sanding procedure. The book also contains a number of projects to help improve your skills.
It is a difficult process that results in imperfectly turned pieces. You have to work with the grain of the wood in order to avoid splitting and distorting it. Making mistakes is almost impossible to rectify. You will need to mount the piece again on the lathe and finish it. This technique is best for functional work. However, some artists also use rough turning to finish some pieces.
Cost
Woodturning can be a hobby but the materials you use will also affect the final product's cost. Wood bowls that cost $20 are only about four to five dollars an hour to turn, but they're not cheap. Wood-bowlers don't always appreciate their work and it's not uncommon to see them cut corners on materials, or make poor quality pieces that do more harm then good. You can give $20 wood bowls to friends and relatives or donate to a nonprofit organization.
The lathe, an essential tool in the turning process, is crucial. While the lathe can be purchased for a relatively low price, other tools and sharpening devices will be required to ensure you get the best results. You will also need rests, centers, and a hammer to turn your wood. These items can cost several thousand dollars so budget carefully. Woodturning supplies are a great hobby and can make any project more enjoyable.
Getting started
There are some essential items you need to have in order to start woodturning. A lathe is essential. Gouges and a sharpening machine are also important. But before you can get started, you need to learn a little bit about sharpening. Here are some tips and tricks to get you started in woodturning.
Start by working with the grain. Many woodturners refer to this as cutting downhill. For example, when hollowing out a cove you should work from the outside edges towards the center. You may have difficulty controlling the wood and your tool might catch if you go uphill. Make sure to read the instructions carefully. Keeping an eye on your work and being patient while working can ensure your success in woodturning.
FAQ
Do you have any advice on how to start a woodworking business.
It is hard work to start a woodworking company. But if you're passionate about your hobby, you won't mind putting in the effort. Plus, you'll probably enjoy the challenge of running your own business.
You should remember that unexpected issues may occur when you launch a new venture. You may run out of money suddenly. Perhaps customers won't pay you as much as you had hoped. These situations are necessary for survival.
A good tip is to open a separate bank account for your business. You will always know how much money you have coming in.
Where do you start when it comes to woodworking?
You can learn the most effective way to build furniture by actually building it. While you will need tools, mistakes are inevitable, but you will learn the ropes if you persevere.
First, choose a project you would like to complete. You can make a simple box or a large entertainment center. After you have decided on a project to work on, contact a local woodworker that specializes in this type of work. Ask your local woodworker to help you determine the right tools for you and where they are located. You might even ask whether there's someone else you can talk to who does this kind of work.
How do you know which tools are the best for you?
It's important that you consider your needs and preferences while shopping for tools. Do you prefer metal or plastic handles What size are you most comfortable using for screws and nails? Would you rather use hand tools than power tools?
What types of woods are best for furniture making?
Woods are classified based on their hardness. Softwoods include pine, fir, cedar, and cypress. They are great for outdoor furniture as they resist rot. Hardwoods include oak, maple, mahogany, and teak. Because they can't weather outside, they're usually used indoors.
Statistics
- In 2014, there were just over 237,000 jobs for all woodworkers, with other wood product manufacturing employing 23 percent; wood kitchen cabinets and countertop manufacturing employing 21 percent. (theartcareerproject.com)
- If your lumber isn't as dry as you would like when you purchase it (over 22% in Glen Huey's opinion…probably over 10-15% in my opinion), then it's a good idea to let it acclimate to your workshop for a couple of weeks. (woodandshop.com)
- Most woodworkers agree that lumber moisture needs to be under 10% for building furniture. (woodandshop.com)
- The U.S. Bureau of Labor Statistics (BLS) estimates that the number of jobs for woodworkers will decline by 4% between 2019 and 2029. (indeed.com)
External Links
How To
How to make wood joints
This tutorial will teach you how to join two pieces wood together. We will use the "pockethole joint," which means that we drill holes in the wooden pieces and then glue them together. This method is great if your wood's straight and smooth. You may want to consider other methods, such as dowel joining. Here are the steps
-
Drill Pocket Hole Joints. Start by measuring and marking the spot where the pocket hole joint will be placed. Next, drill 3/4 inch holes in each end of each piece using a handheld drilling machine or jigsaw.
-
Sand Smooth. You can sand the edges of the wood to ensure that it doesn't split.
-
Glue Together Apply glue to both the ends of the wood. Let it sit for about 5 minutes before clamping the pieces together.
-
Attach the Pieces together. After the glue has dried thoroughly, secure the pieces so that they are flush.
-
Trim Joinery. Trim the excess wood around the joint after the glue has dried completely.
To be able to turn the pieces inside-out, leave enough room between them.