Woodturning requires a precision lathe to be an enjoyable hobby. The skills needed to do this type of work vary. Some tools are better suited for this process, while others require additional skill to use effectively. It is important that you understand the steps involved before you begin. We will be discussing the various techniques and tools that are available. The costs of these tools will be discussed as well. Choosing the right lathe can help you start turning in no time!
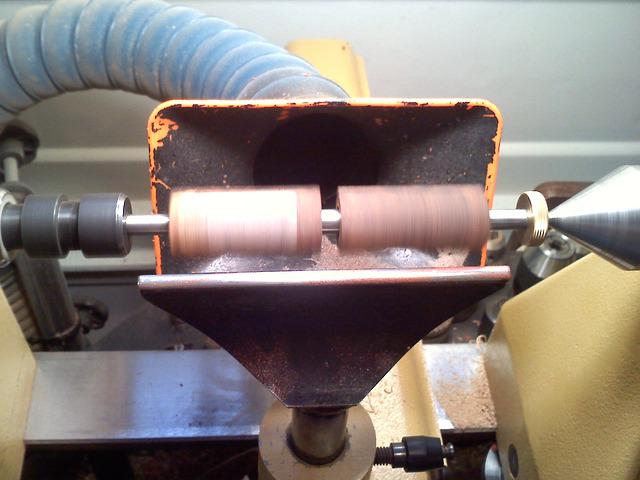
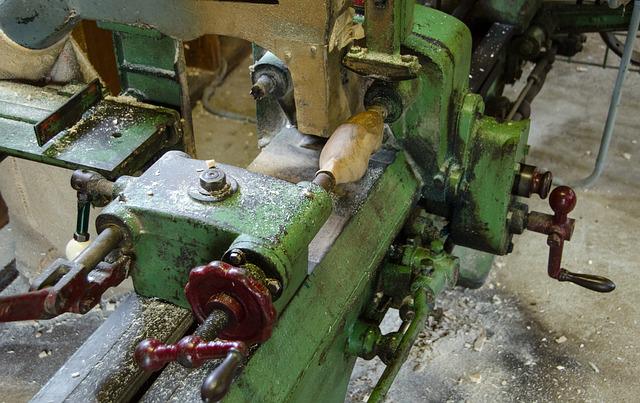
Lathe
It is important that you choose the right woodturning lathe for your needs. There are several types available on the market, and you must be able to discern the quality of each before making your final purchase. Here are some tips that will help you choose the right lathe.
Before you begin your project, make sure your wood is dry. After a while, wood can become stable, but it will warp when it has lost moisture. Woodturners don’t like long boards. Instead, they prefer to score pieces. Usually, they aim for figured parts of the tree. If you really want to create a woodturning masterpiece, it is important to dry your wood properly.
Tools
For woodturning, you will need: A pair of leather steel-toe boots, work benches, and a collection of saw blades. Safety glasses are required for woodturners. Some tools work better for smaller items while others are too big for larger pieces. Others will require that you learn advanced skills. You should avoid large objects with woodturning tools that can inflict injury.
For beginners, it's better to buy individual tools rather than buying a collection. High quality tools should last a lifetime. You should start with a roughing knife, diamond parting tools, skew and several sizes. You should also invest in high quality steel tools for larger jobs. You can buy more gouges to expand your toolbox.
Techniques
If you want to learn the basics of woodturning, then A Lesson Plan for Beginners is the book for you. The book includes step-by, detailed instructions as well as photos and illustrations that demonstrate the techniques used for each project. It is based on classroom experiences. Everything from choosing timber to setting it up and the sanding process is covered. You will also find a range of projects in the book to help you learn different skills.
It is a difficult process that results in imperfectly turned pieces. To avoid splitting and fracturing the wood, it is important to work with its grain. When you do make mistakes, it's almost impossible to undo the mistakes. You'll eventually have to mount your piece on the lathe twice more and then finish it. This technique works best for functional work. However some artists may use rough turning on pieces.
Prices
Woodturning can be a hobby but the materials you use will also affect the final product's cost. A wood bowl that costs $20 is only about four or five dollars an hour to make, but this amount isn't cheap! Wood bowl turners may not always be proud of their work. This is why it is common for them to use less quality materials or make cheaper pieces that do more damage than good. You can give $20 wood bowls to friends and relatives or donate to a nonprofit organization.
The lathe, an essential tool in the turning process, is crucial. Although the lathe itself is inexpensive, you will need additional tools and sharpening machines to achieve the best results. For turning wood, rests and centers will be necessary. These items can add up to a few thousand dollars, so it's important to budget accordingly. Woodturning supplies can be a fun hobby that will make any project more enjoyable.
Getting started
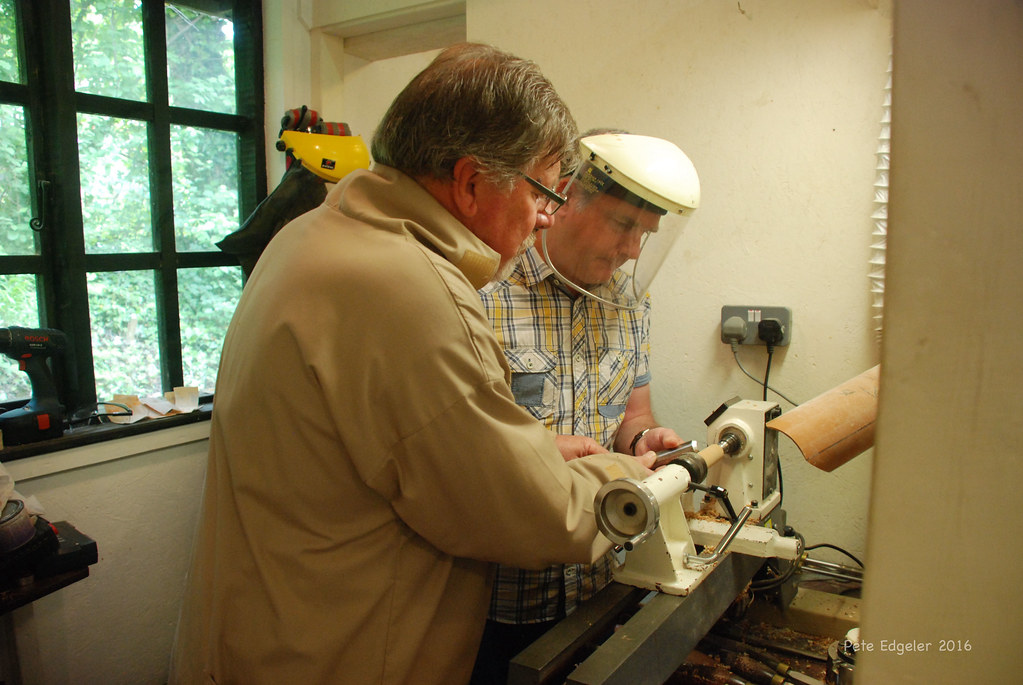
These are the essential things to have if you want to begin woodturning. A lathe is obviously essential, as are gouges and a sharpening system that you can use to make sure your tools are sharpened to a consistent angle. Before you start learning about sharpening, however, it's important that you are familiar with what you are doing. These are some tips to help you get started in woodturning.
The first step is to work with the grain. This is often referred to as "cutting downhill" by woodturners. For example, you would cut from the outside edges of a cove to the centre when hollowing it out. You may have difficulty controlling the wood and your tool might catch if you go uphill. It is important to follow the instructions. Woodturning success depends on you being focused and patient.
FAQ
How do I choose the right tools for me?
It helps to reflect on your needs and preferences before you shop for tools. Are you more comfortable with plastic or metal handles? What size screws and nails do you use most often? Are you comfortable with power tools, or would you rather use hand tools?
Are there any tips for starting a woodworking enterprise?
It is hard work to start a woodworking company. If you are passionate about your hobby, it will not be difficult to put in the work. You'll likely enjoy the challenge of owning your business.
When you are launching a new venture, it is important to be aware of the possibility that you will encounter unexpected difficulties. Unexpectedly, money might run out. You might find customers not willing to pay the amount you expected. These situations are necessary for survival.
It is a good idea to create a separate bank account just for your company. This way, you'll always know exactly how much money you have coming in.
Do I have the potential to make a decent living doing this?
Yes! In fact, most woodworkers already have it. According to the U.S. Bureau of Labor Statistics in May 2012, the median annual income for woodworkers was $34,000 This is higher than the $31,000 annual national average.
Statistics
- Most woodworkers agree that lumber moisture needs to be under 10% for building furniture. (woodandshop.com)
- Overall employment of woodworkers is projected to grow 8 percent from 2020 to 2030, about as fast as the average for all occupations. (bls.gov)
- If your lumber isn't as dry as you would like when you purchase it (over 22% in Glen Huey's opinion…probably over 10-15% in my opinion), then it's a good idea to let it acclimate to your workshop for a couple of weeks. (woodandshop.com)
- In 2014, there were just over 237,000 jobs for all woodworkers, with other wood product manufacturing employing 23 percent; wood kitchen cabinets and countertop manufacturing employing 21 percent. (theartcareerproject.com)
External Links
How To
Tips for driving a nail in wood
It is essential to pick the right size and style of hammer before you can drive a nail in wood. Claw hammers include mallets, claw hammers (sledgehammers), mallets, ball-peen hammers, hatchets, and mallets. Each type has its strengths and weaknesses. A claw hammer is best for hitting nails or hard objects. However, it can be difficult to pinpoint exactly where the blow will land. Although a sledgehammer can be used to hit large areas quickly, it is too heavy to be useful for small tasks.
After selecting the right hammer, you will need to place your hand flat against one side of the head. The handle should rest comfortably in your hands. Grip the handle firmly, but don't squeeze it so tightly that you hurt yourself. The hammer should be held straight up with your wrist relaxed. You should then swing the hammer straight up, keeping your wrist relaxed. You should feel the impact on the nail from the hammer. You can practice swinging the hammer with a block or wood until you feel the rhythm.
When you're ready to start driving the nail, hold the hammer in front of you close to your body. Place the nail so that it is perpendicular with the wood's surface. Keep your eyes focused directly on the tip of the nail. Move the hammer forward and then continue to move the hammerhead. Continue this motion several times, slowly increasing the speed of each swing. When you are confident with the technique, add power to your swings. Hold the hammer high above your shoulders and pull it down. You will be able to use more energy and put your best foot forward.
Once you have made the first hole, remove your hammer. You can then remove the rest of the nails using a prybar or a screwdriver. Keep the nail heads parallel to the board's surfaces in order to avoid splitting wood.